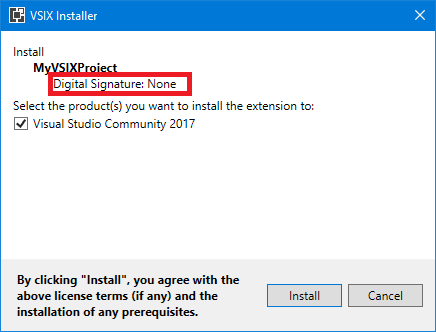
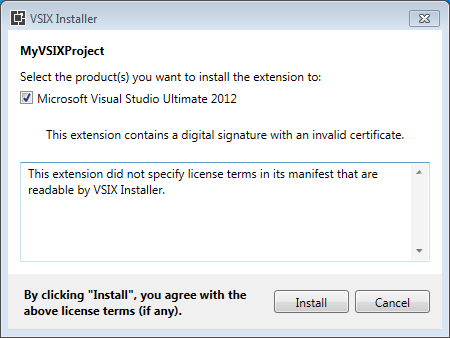
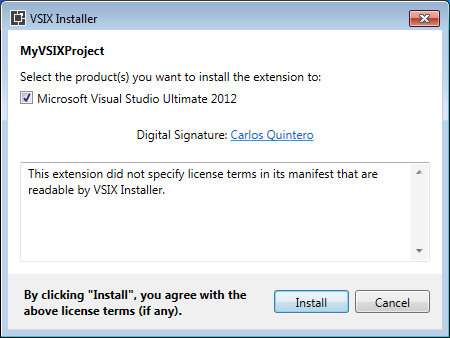
Continuing on the subject of “Code signing a VSIX package with a hardware-based USB token key”, there are some issues with the new hardware-based code signing certificates shipping since June 1, 2023 make the code signing extremely tricky or impossible in Yubikey keys, the most popular ones.
Here they are and please vote up for them for Microsoft to improve the current scenario:
- “Misleading documentation regarding SHA256 required to sign VSIX packages”: https://developercommunity.visualstudio.com/t/Misleading-documentation-regarding-SHA25/10481764
- “Insufficient documentation to sign VSIX packages”: https://developercommunity.visualstudio.com/t/Insufficient-documentation-to-sign-VSIX/10481776
- “Add support in Visual Studio 2015 and higher for ECDSA-SHA256 (and not only RSA-SHA256) for code-signing VSIX packages”: https://developercommunity.visualstudio.com/t/Add-support-in-Visual-Studio-2015-and-hi/10481797
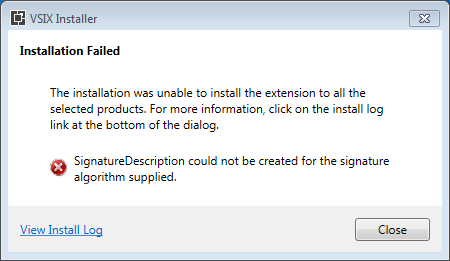
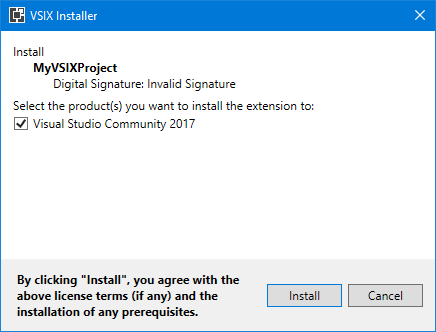
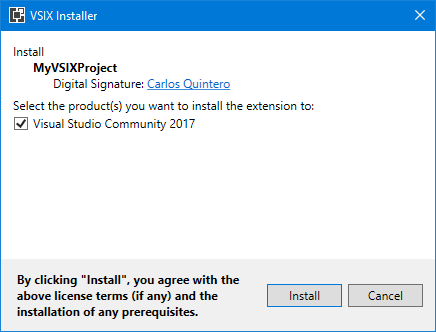
- “VSIXInstaller should log the exception that causes “Invalid signature” installing code-signed VSIX extensions”: https://developercommunity.visualstudio.com/t/VSIXInstaller-should-log-the-exception-t/10481800
- “vsixsigntool.exe shows incorrect error message when duplicating the /fd flag”: https://developercommunity.visualstudio.com/t/vsixsigntoolexe-shows-incorrect-error-m/10481804
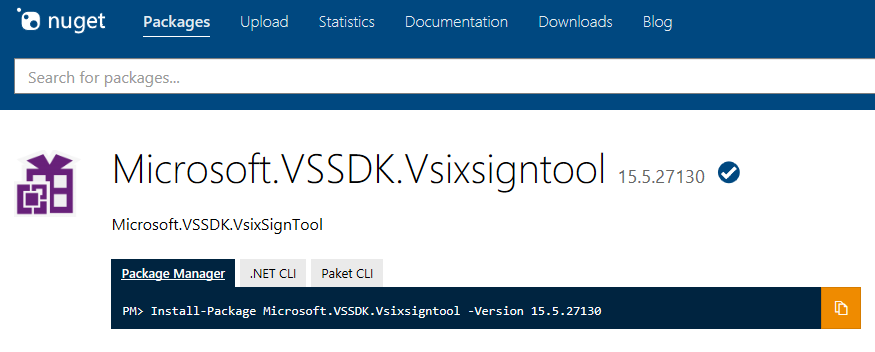
Visual Studio Extensibility is tricky, as usual 🙂 And current tooling / documentation / implementation doesn’t help. Even the tool that you use for code signing (vsixsigntool.exe) has a verify verb (apart from the sign verb that you know) that is useless because, being a native tool (not a .NET-based tool), it can state that the signature is valid but VSIXInstaller.exe (which is .NET-based) can state that it is not (for example, using ECDSA-SHA256) because crypto support is not exactly the same in native implementation and in .NET implementation. It’s a good thing that code signing is not mandatory for extensions as it is for regular setups…
And although not related to code signing, you may also vote up the following, which would be very handy for VSIX developers and are long overdue:
- “Single VSIX entry in Visual Studio marketplace for VS 2022 and for VS 2019 and lower”: https://developercommunity.visualstudio.com/t/Single-VSIX-entry-in-Visual-Studio-marke/1584630
- “VSIX project with SDK-style csproj”: https://developercommunity.visualstudio.com/t/VSIX-project-with-SDK-style-csproj/1572145
- “Make Shared Project SDK style”: https://developercommunity.visualstudio.com/t/Make-Shared-Project-SDK-style/10296159